
How to install GShade on The Sims 2 RPC for Windows
I went from ReShade to GShade and I like it so far.

Hi There!
If you are reading this then you need the read the tutorial instead… Don’t worry I got you.
Please refer to the GShade Quick Reference for everything related to this program.
For resources and downloads please scroll to the bottom of this post.
Prerequisites:
Have “Sims2RPC” installed
Have no other shades installed
Have file extensions on to change the file names
1. Navigate to the GShade download page.
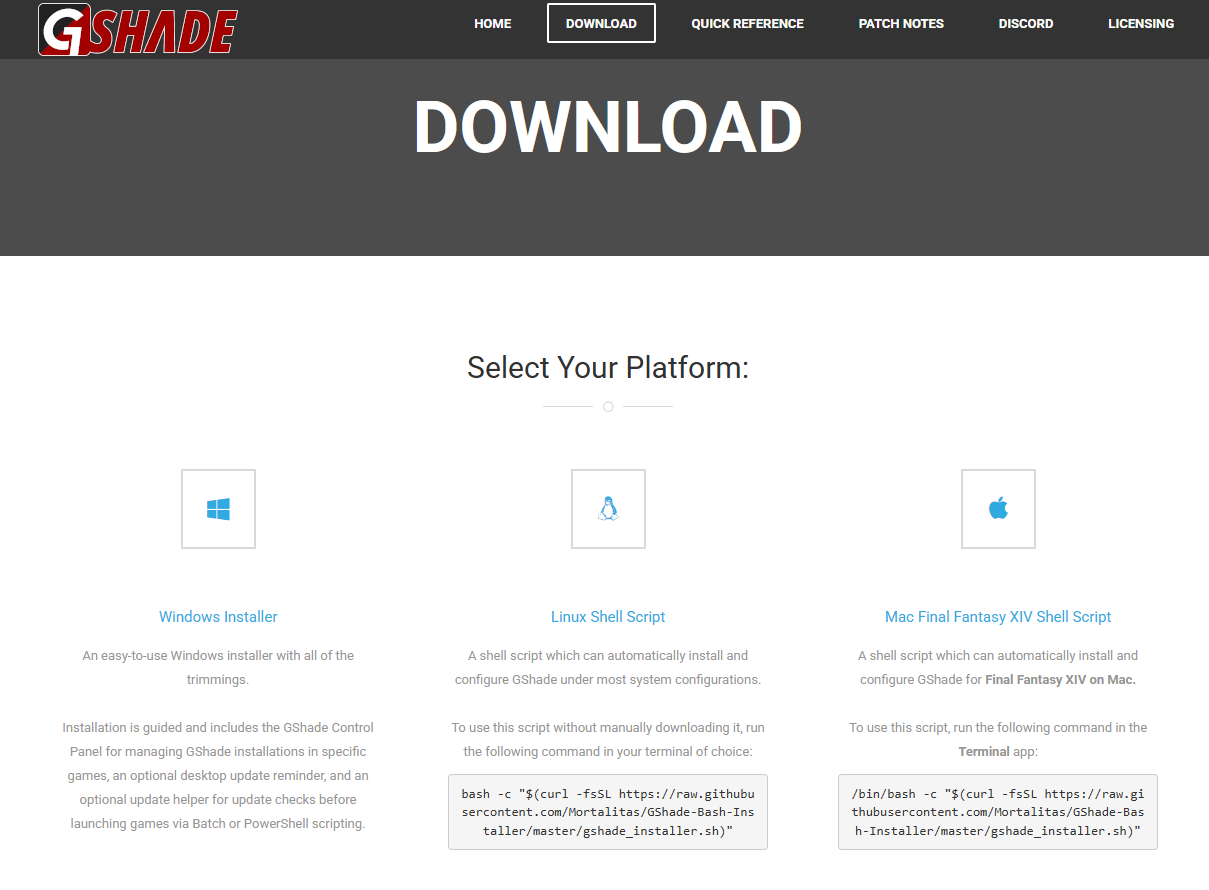
Click the “Windows Installer” Icon and download the GShade program.
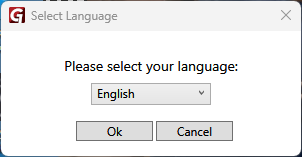
Open the program.
Pick the language you want and click “Ok”
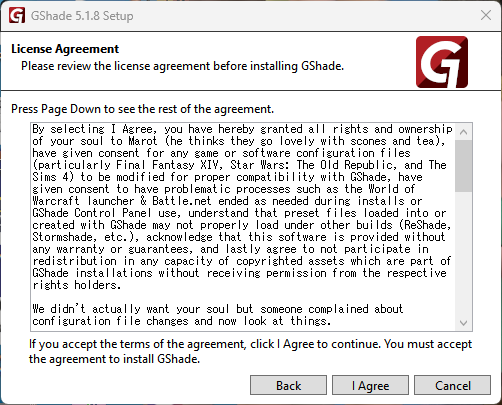
Click “I agree” on the terms of conditions
Under “Target Game or Program (.exe file)” Click “Browse”
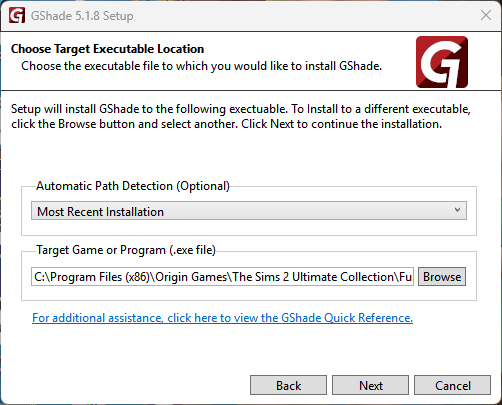
Find your Sims 2 Ultimate Collection in “TSBin” in “Program Files x86” and select “Sims2EP9RPC.exe” and click “Open”

Then click “Next”
Check off the following boxes below:
Executable Architecture:
32-Bit
Graphics API: (Please research your computer hardware to see what you can handle)
DXVK (Experimental: For DirectX 9/10/11 Games)

Thanks to the Photo by: @C0ttageElf via Twitter/X Note: This will only happen if your game can’t handle DXVK
DirectX 10 (Only do this if you can’t handle the first option. I haven’t tried it out so I don’t know if this works)
Hooking:
Normal Mode
Optional: (Leave these be)
Final Fantasy XIV Presents: (Leave these be. They shouldn’t have any boxes checked)
Once that is done click “Install”
After everything is finished Please click “Browse” and find a place to hold your screenshots and contiune the installation until finished.
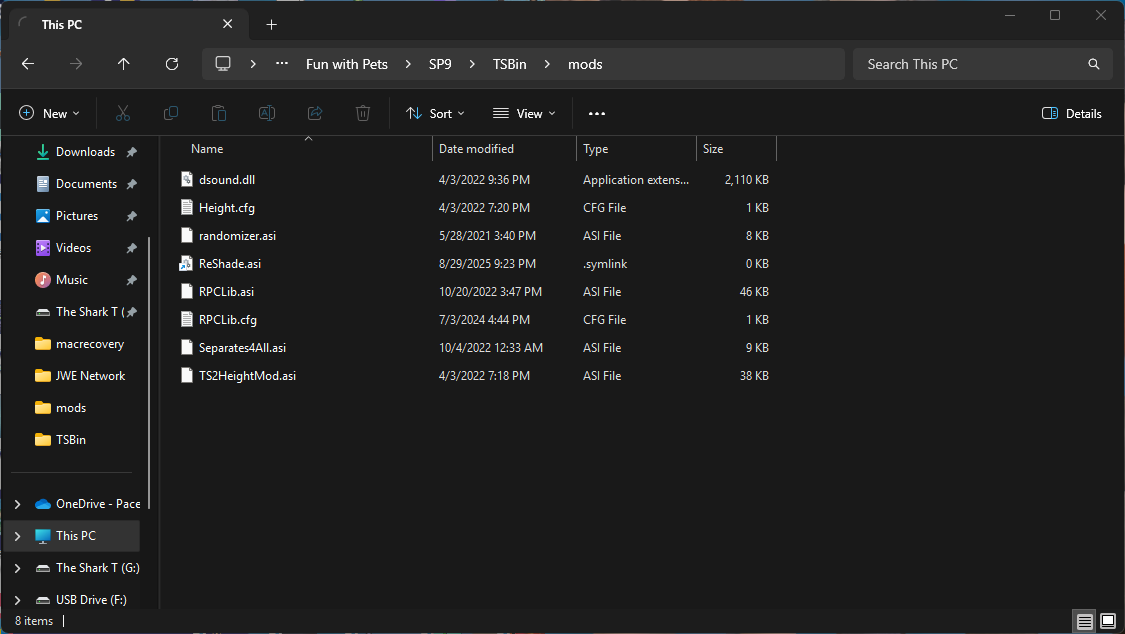
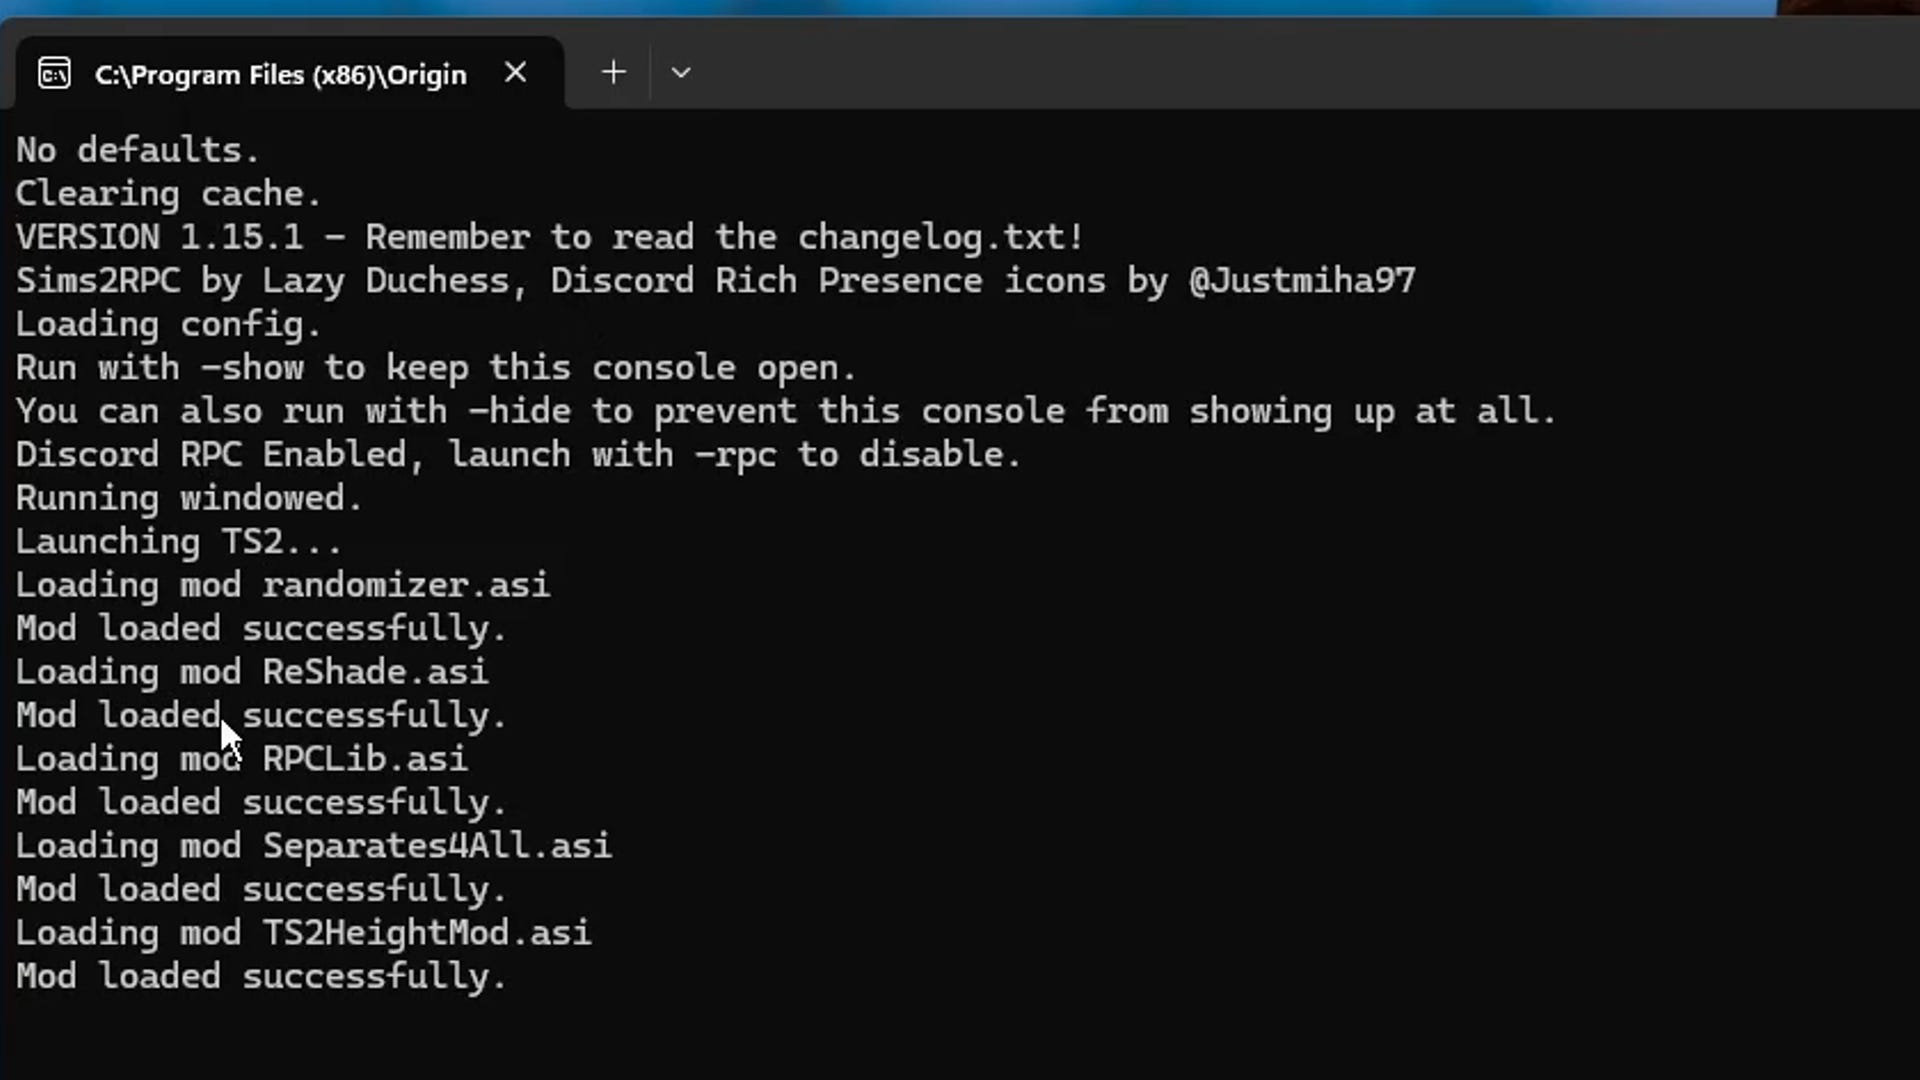
Open File explorer and look up the “TSBin” it might look like this “C:\Program Files (x86)\Origin Games\The Sims 2 Ultimate Collection\Fun with Pets\SP9\TSBin”
Find the file “dxgi.dll” select it and cut it. Move it to the “mods” folder and paste it there.
Rename it from “dxgi.dll” to “ReShade.asi” RPC will recongize the name when Sims 2 is launched.

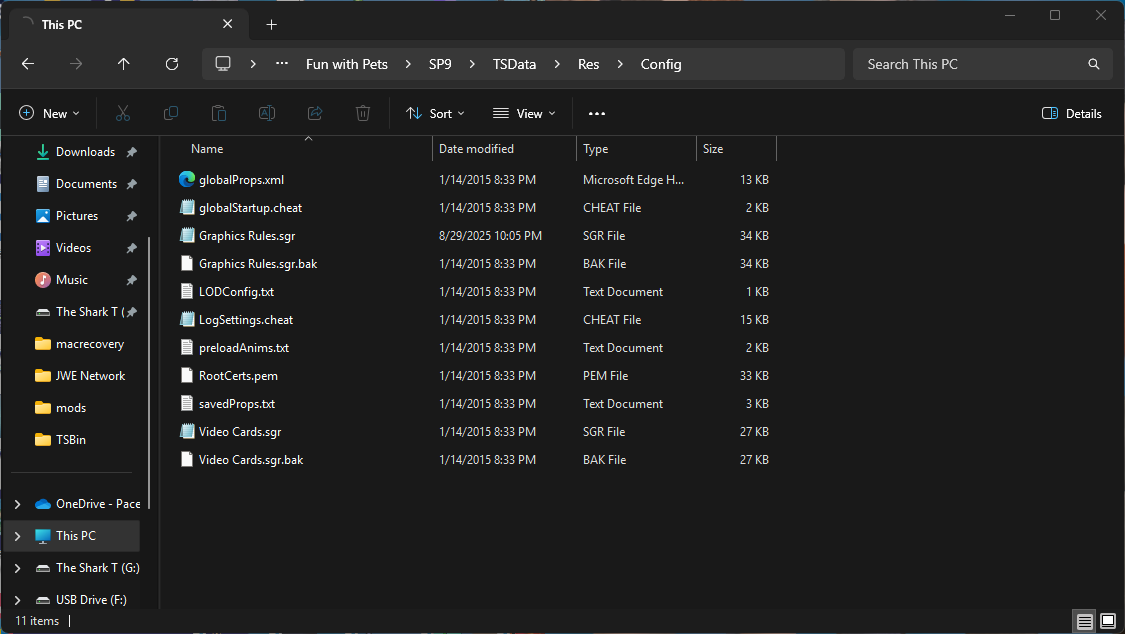
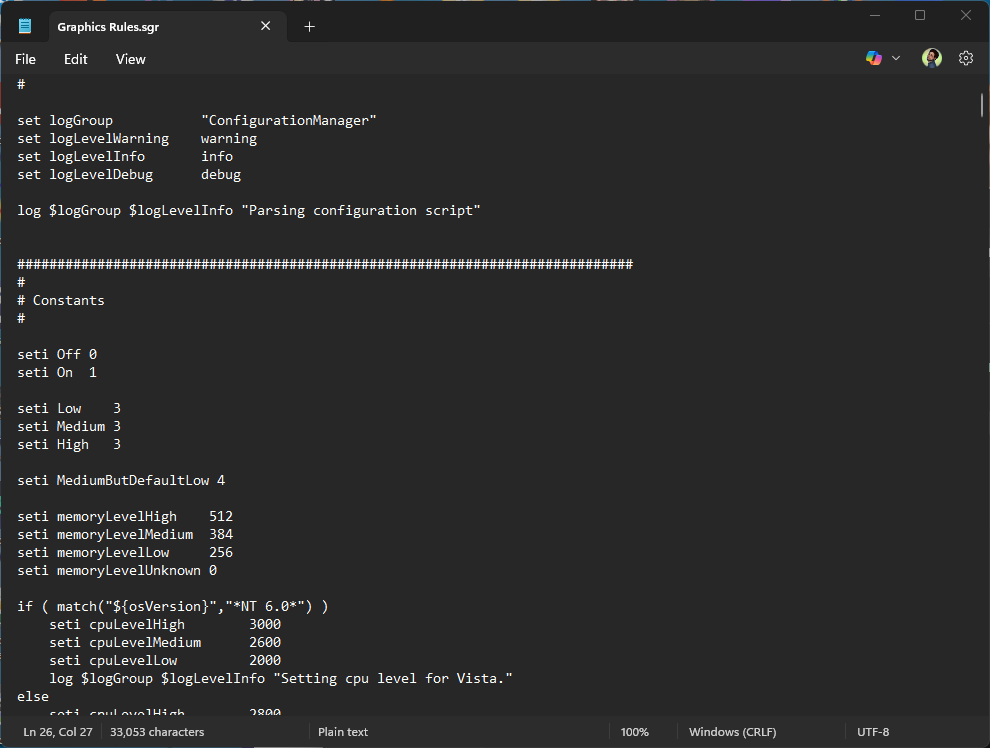
Go back to change directory from “TSBin” to “TSData” to “Res” to “Config” and open “Graphics Rules.sgr” in Notepad or any similar software.
Find “seti Low 1” “seti Medium 2” “seti High 3” and change the numbers to all 3s.
On your keyboard tap “Ctrl + F” and type in “option DirtyRect” and tap “Enter”
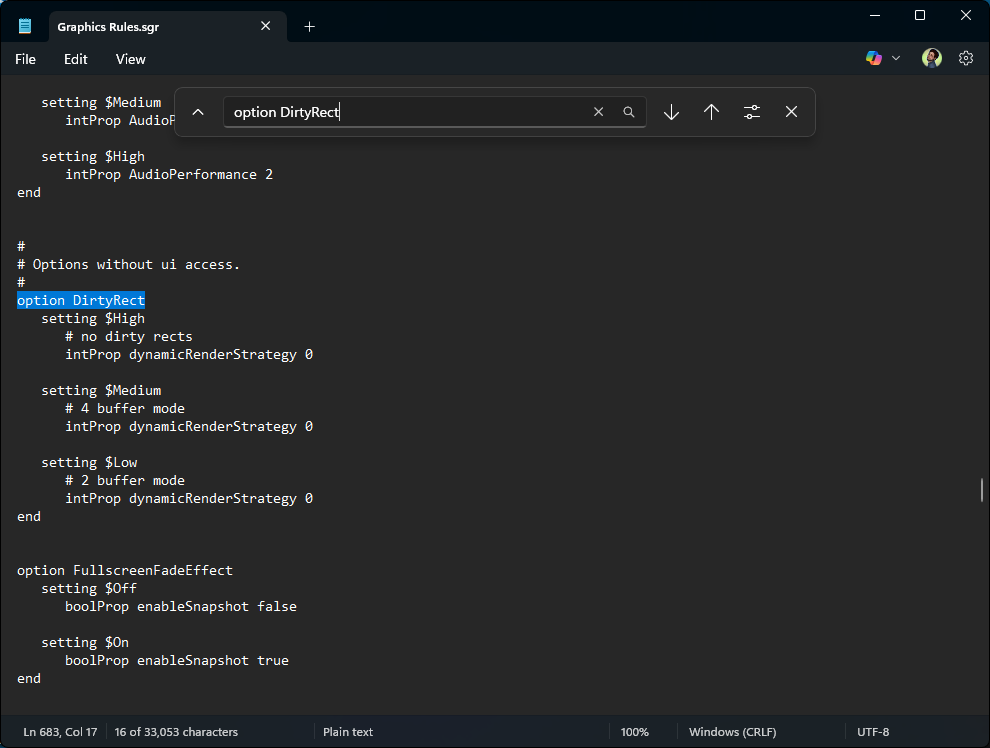
Change the numbers on the ends of “dynamicRenderStrategy” to all 0s.
Click “File” and “Save” and close out the notepad.
Go online and find your presents for your Sims 2 game and pasted it in the “Customs” folder located here “C:\Program Files (x86)\Origin Games\The Sims 2 Ultimate Collection\Fun with Pets\SP9\TSBin\gshade-presets\Custom”

Now it’s time to open your “Sims2RPC” or whatever you renamed it. You should see the “ReShade.asi” in the list of mods.
Once the game is launched you should see the GShade menu run on top of the screen. Let the game load, it will say “Not Responding” but that is completely normal.
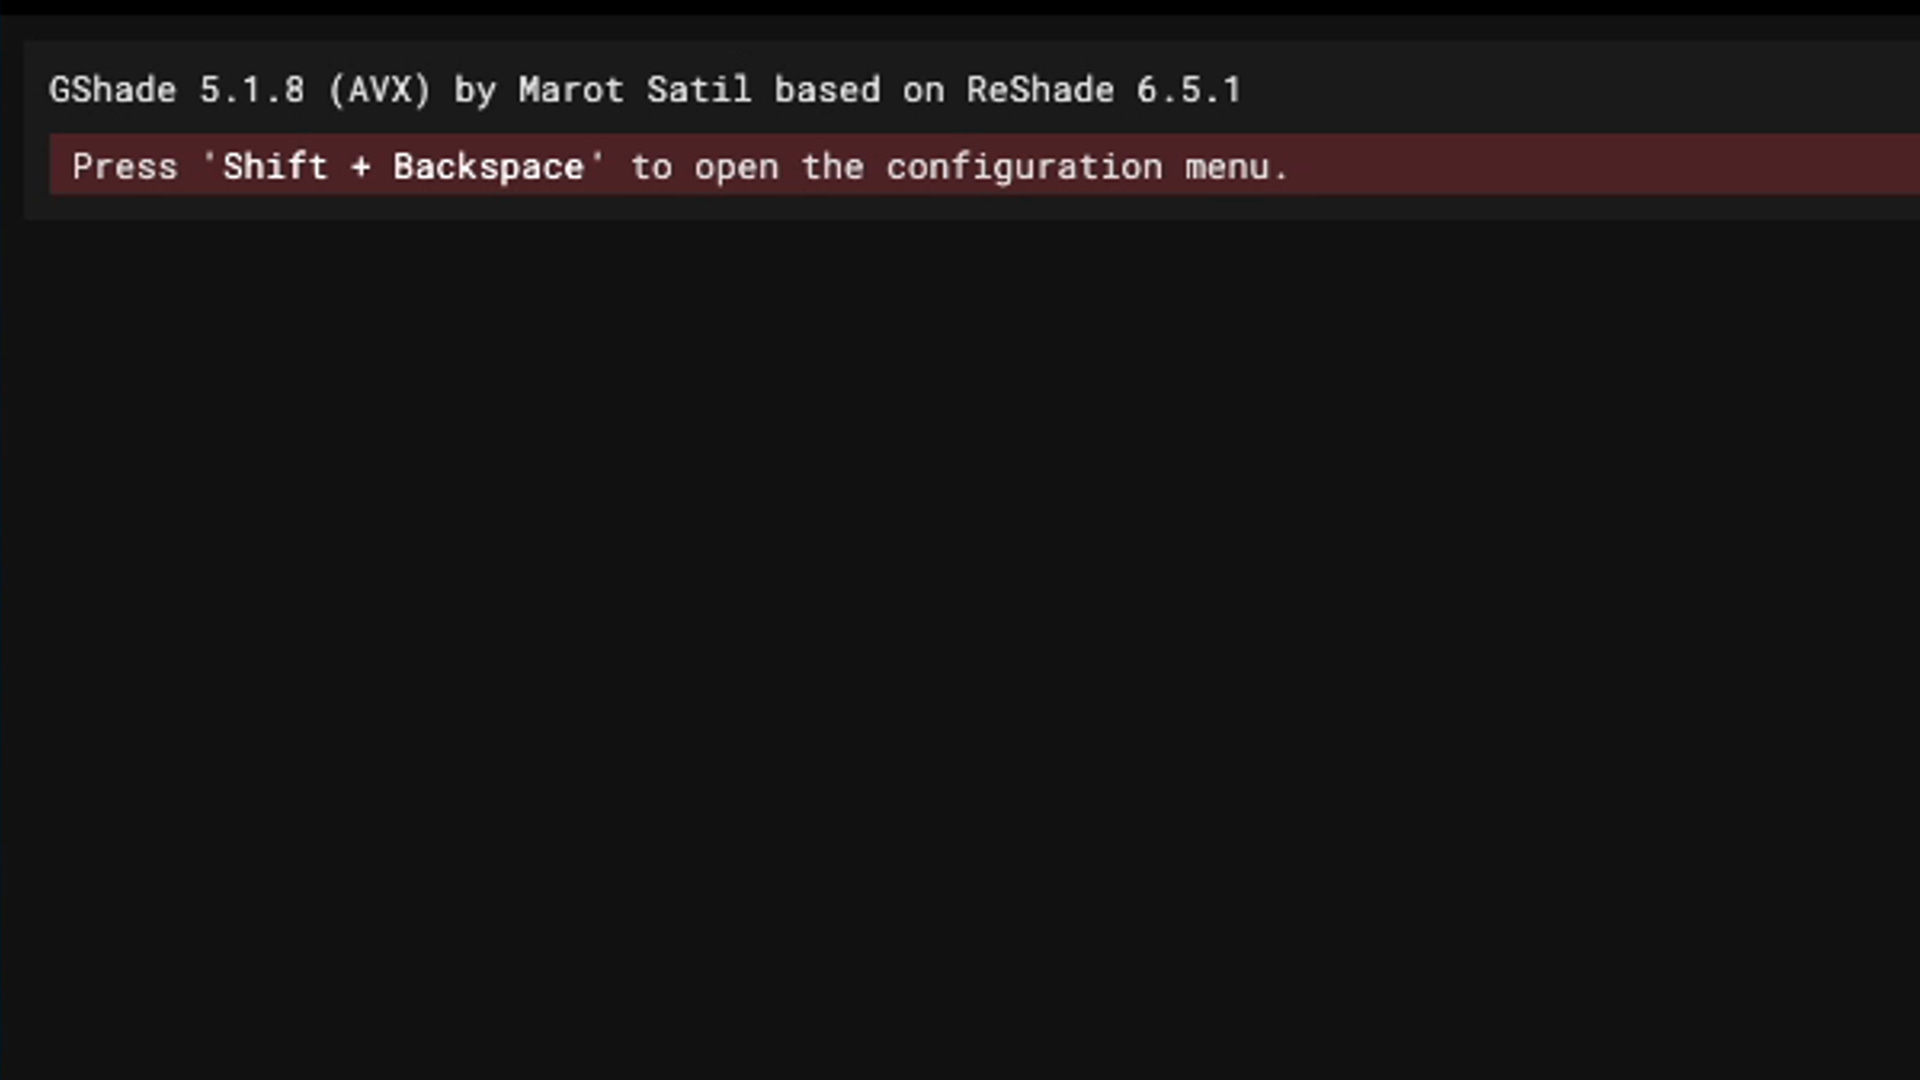
Tap “Shift + Backspace” on your keyboard once the game fully loads to the main menu.
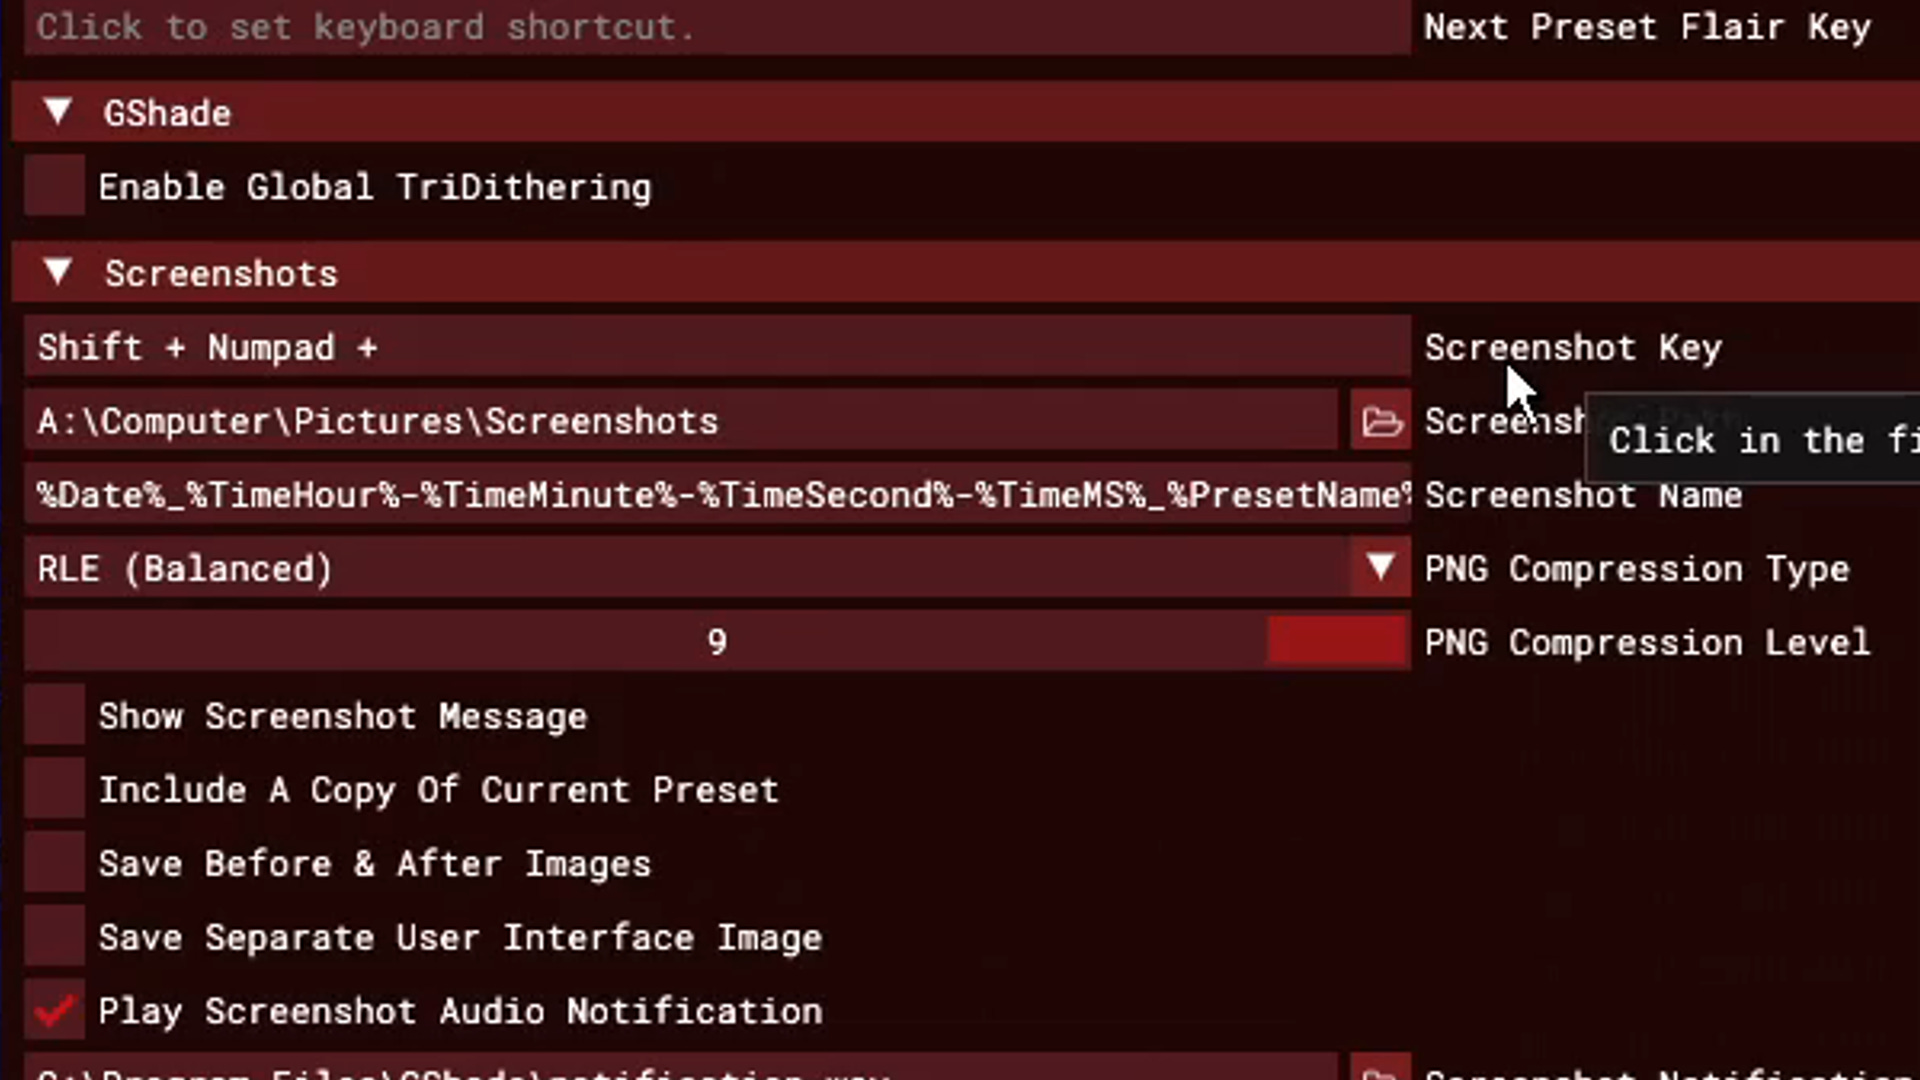
Click “Settings” and set your Keys for GShade. “Overlay Key” “Shader Toggle Key” and “Previous Present Key” are the ones that are most important.
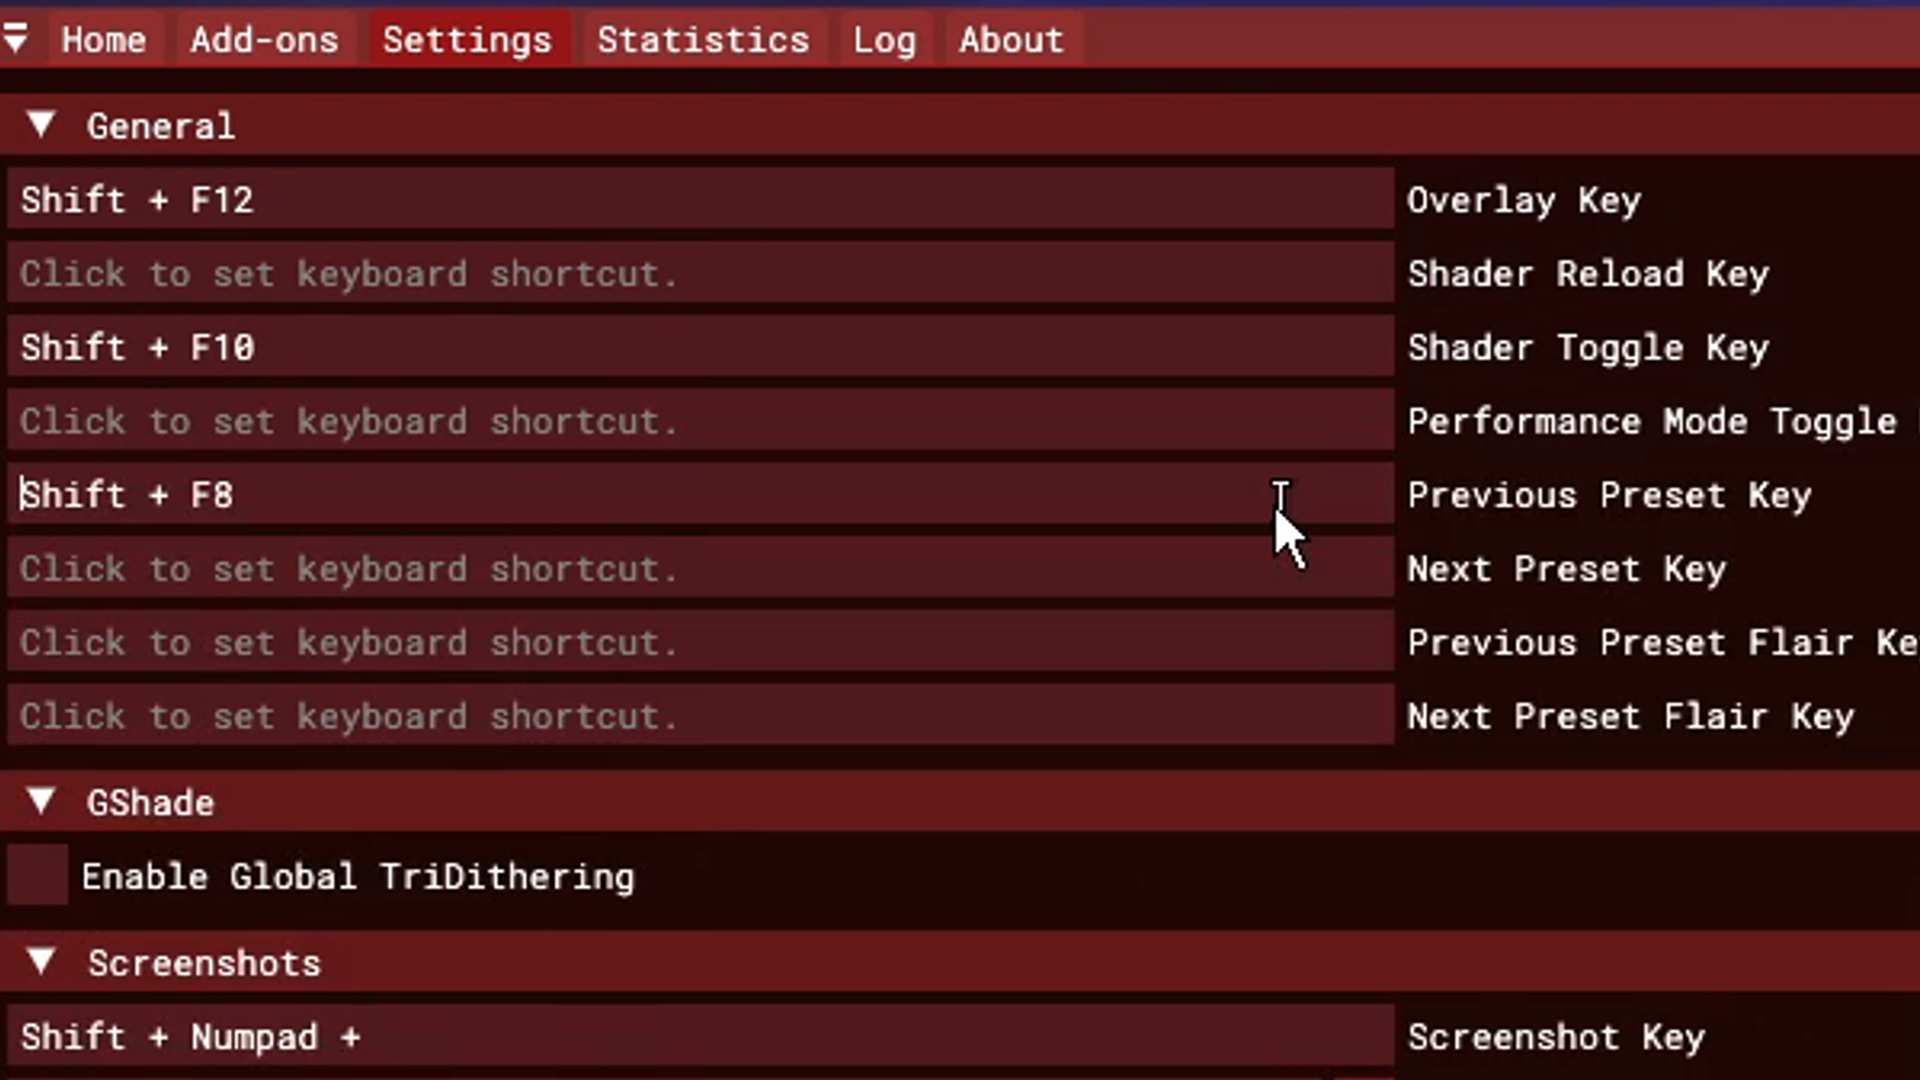
Also set the “Screenshot Key” to take screenshots.
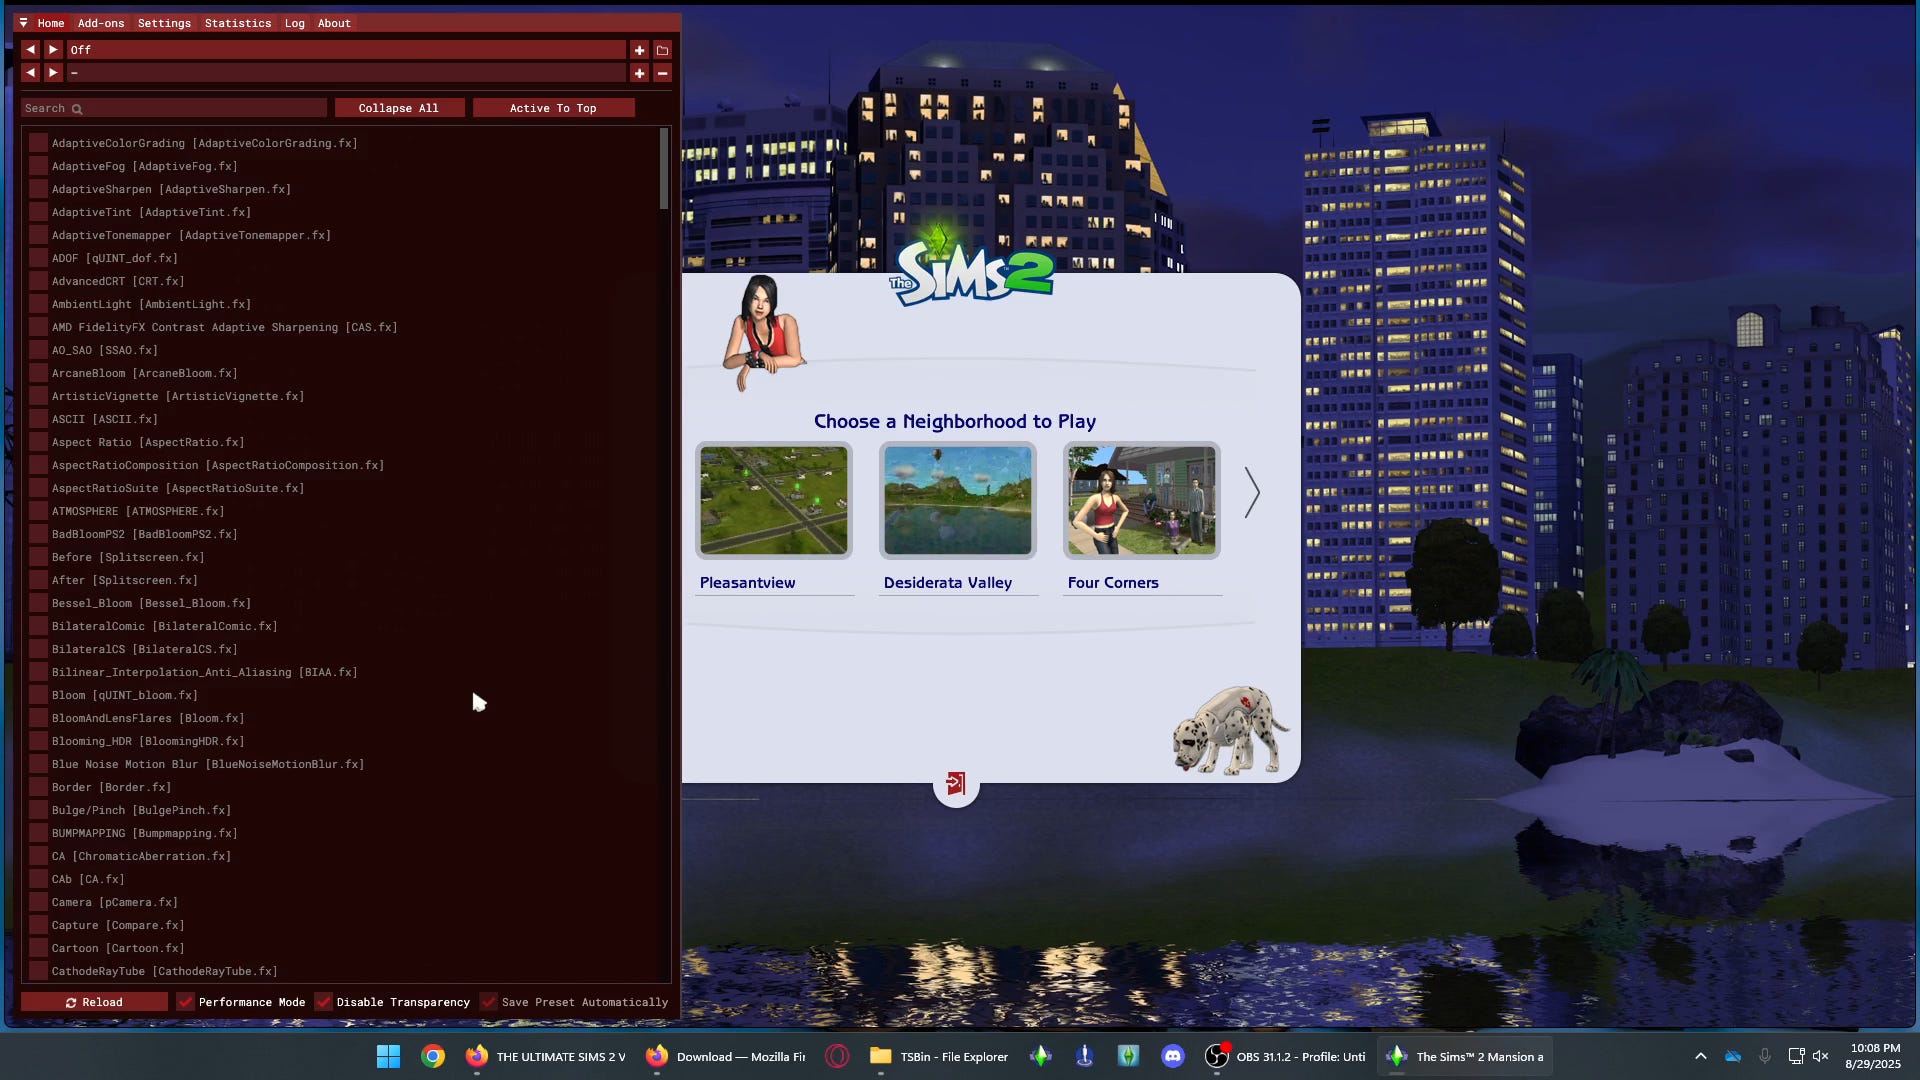
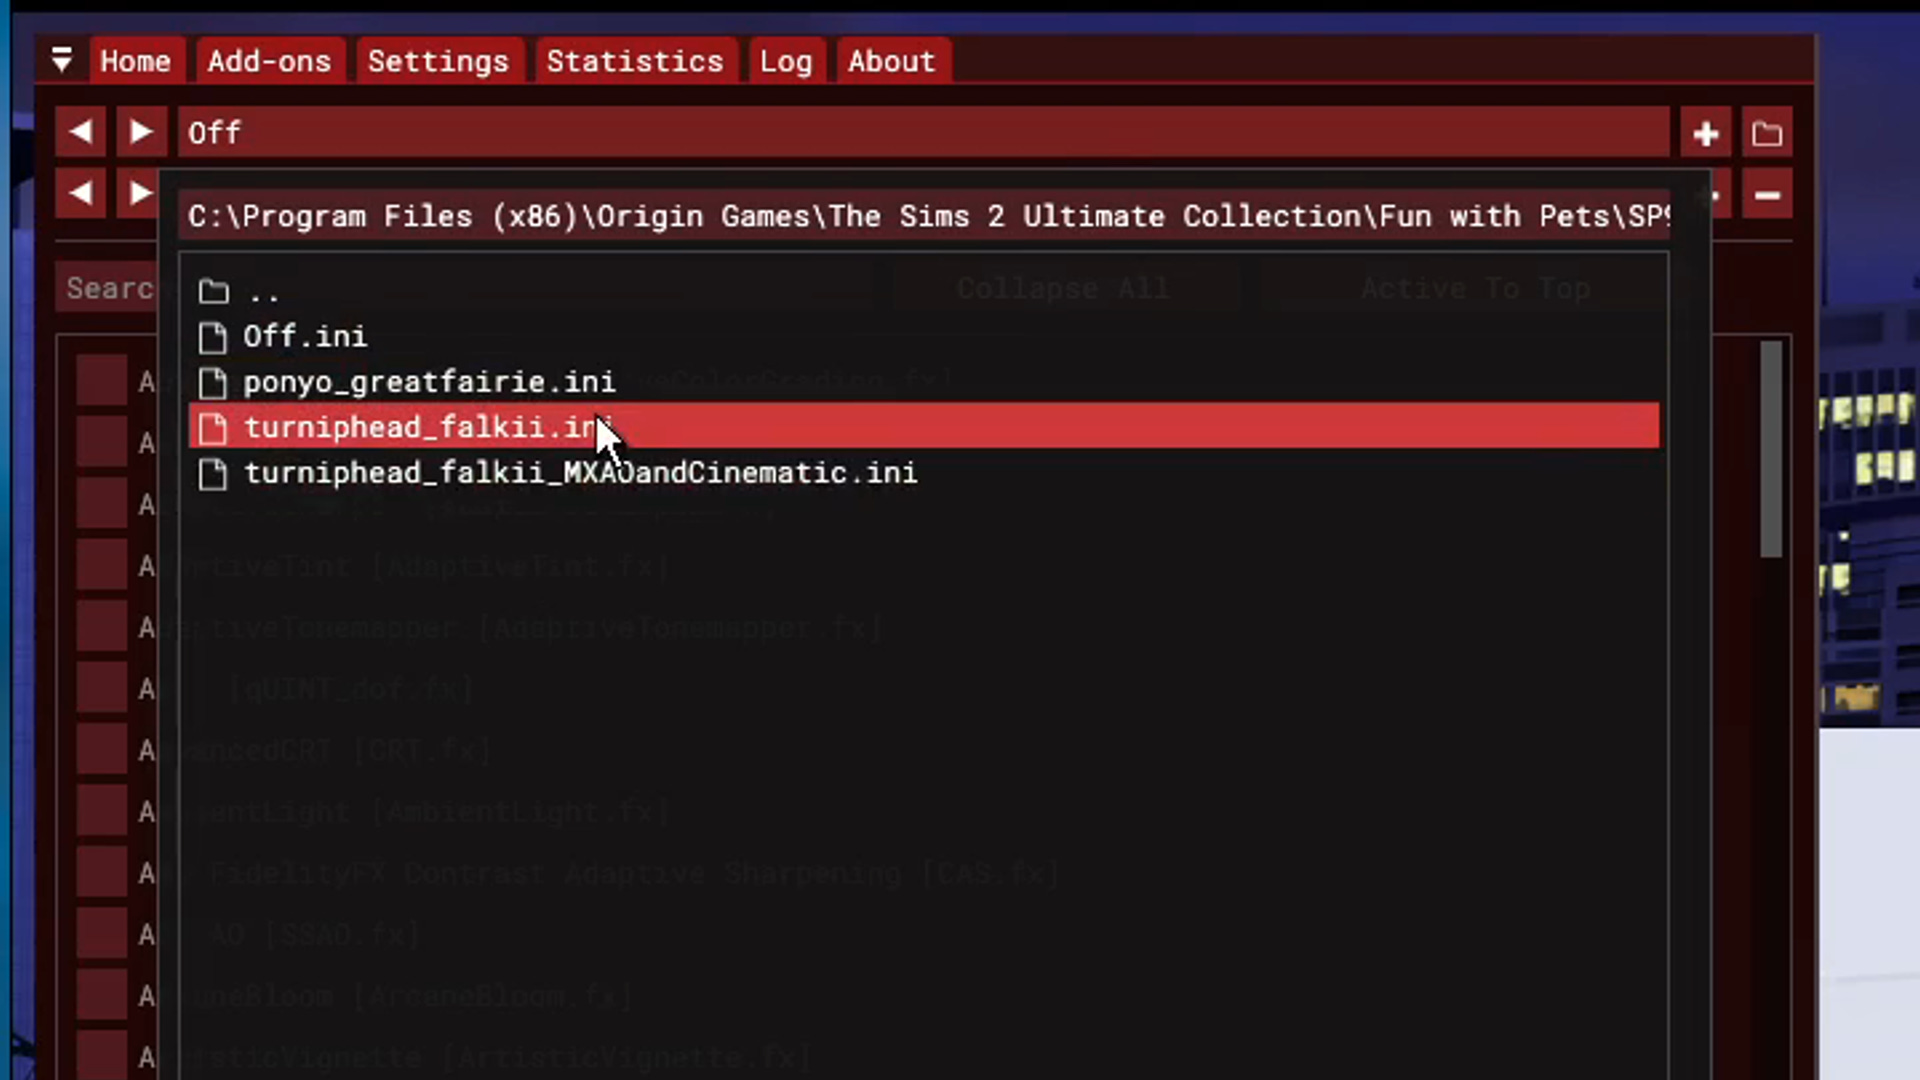
Click “Home” and click “Presents” to find the ones you have downloaded.
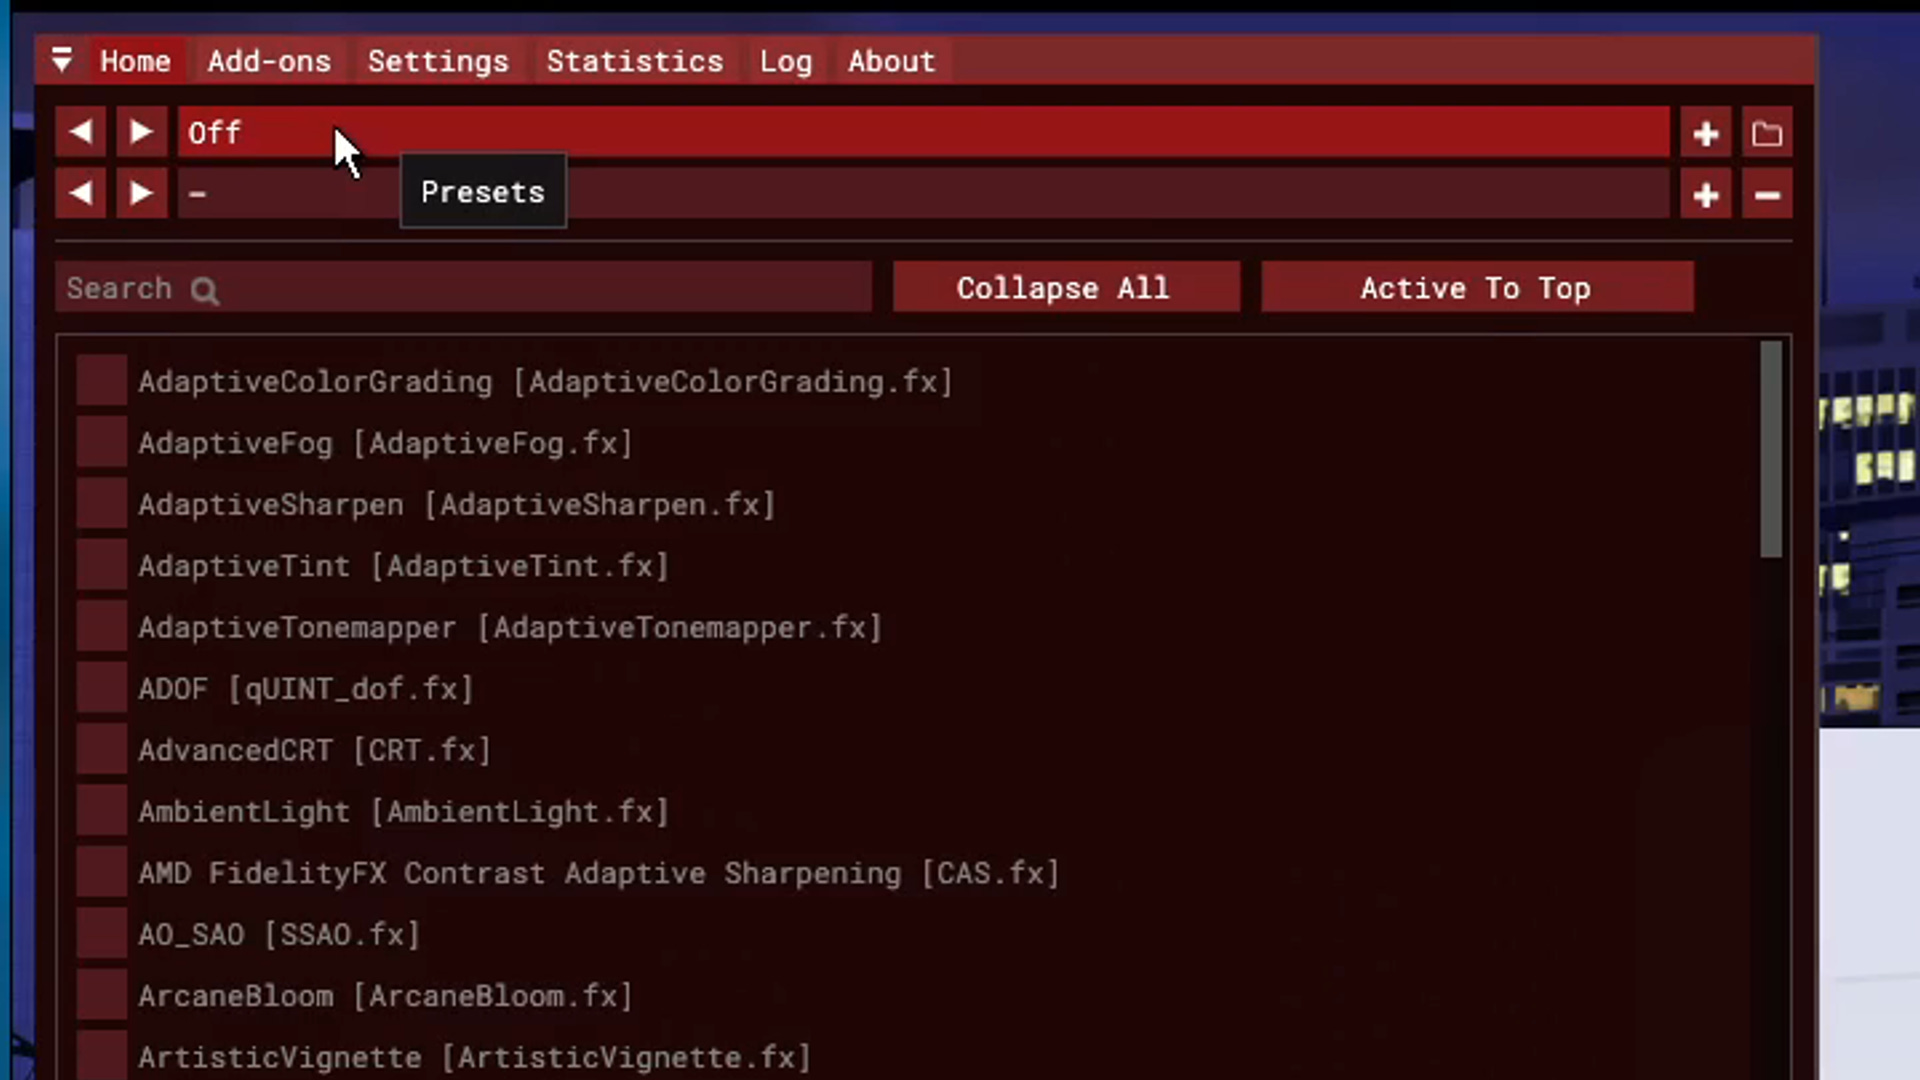
Select the present you want to go with.
You can see it changed instantly.
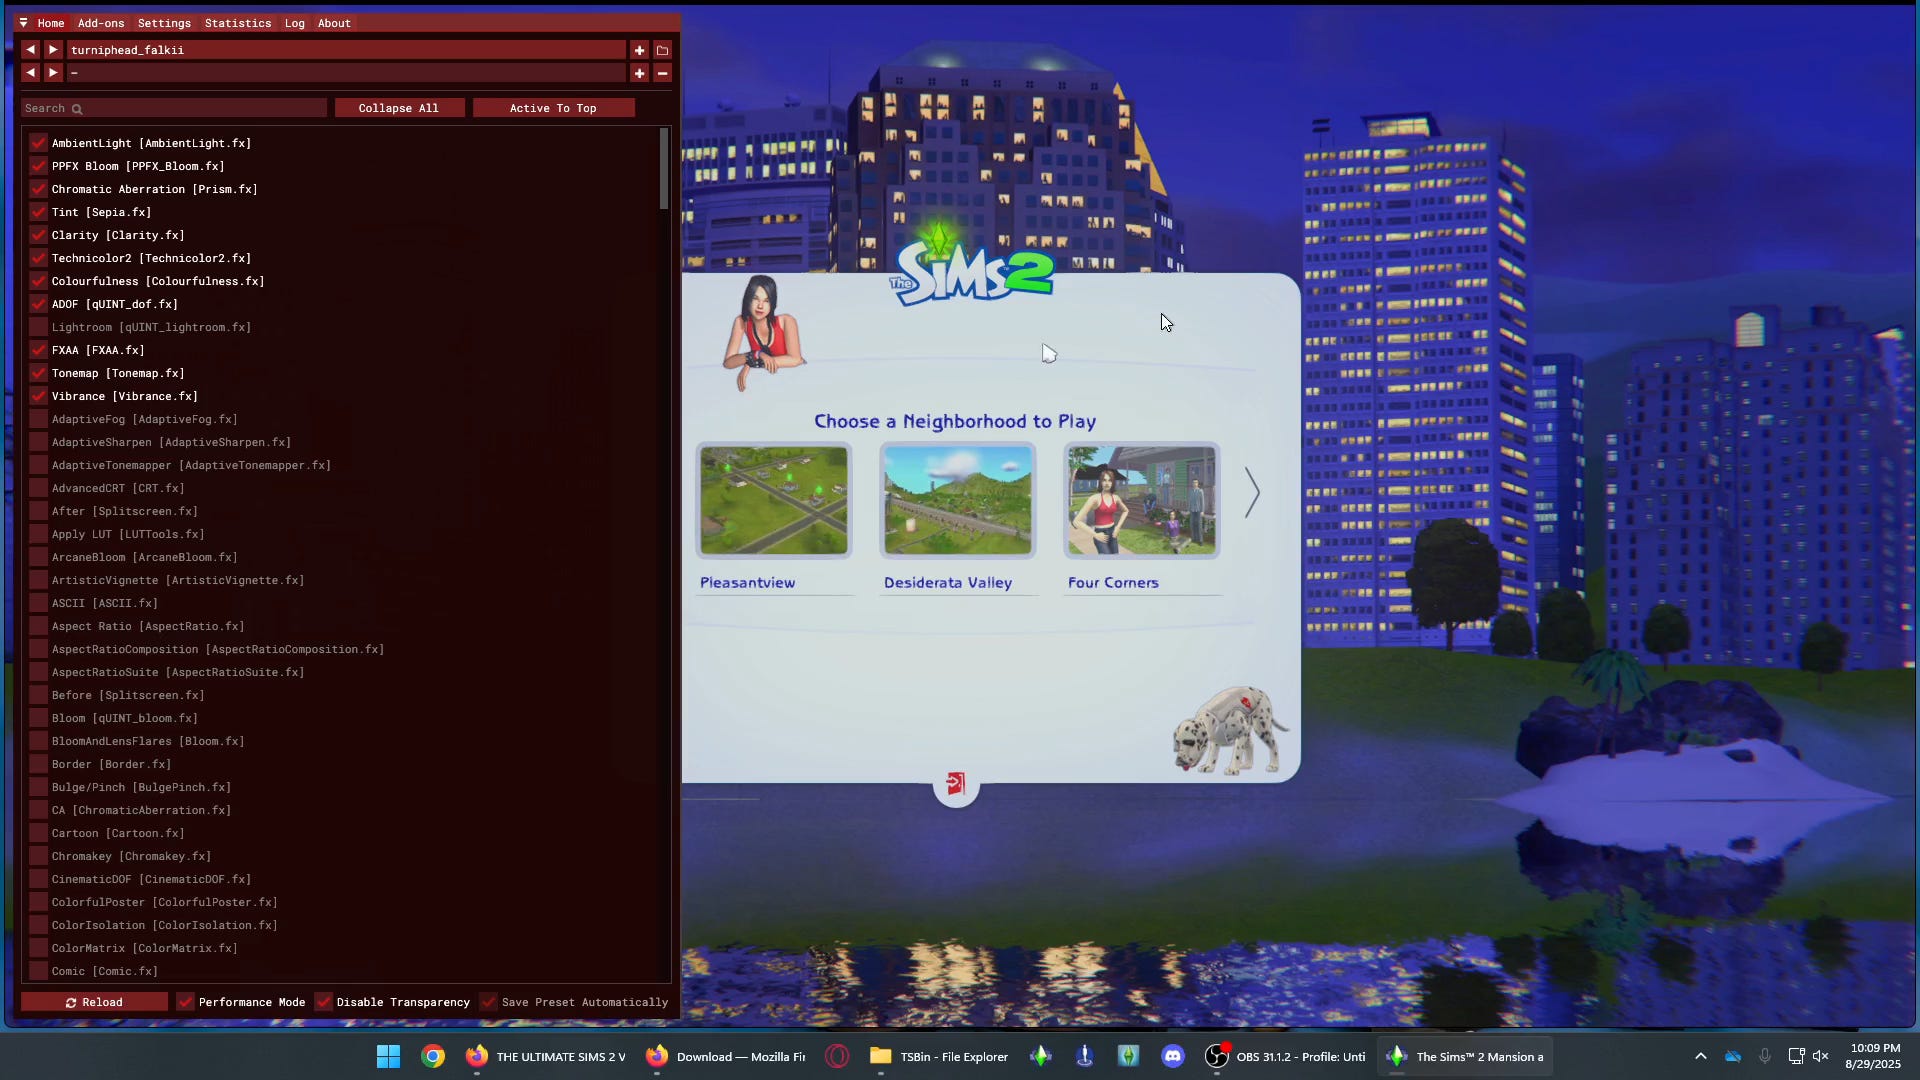
Tap “Esc” to get out of it and click on any neighborhood.
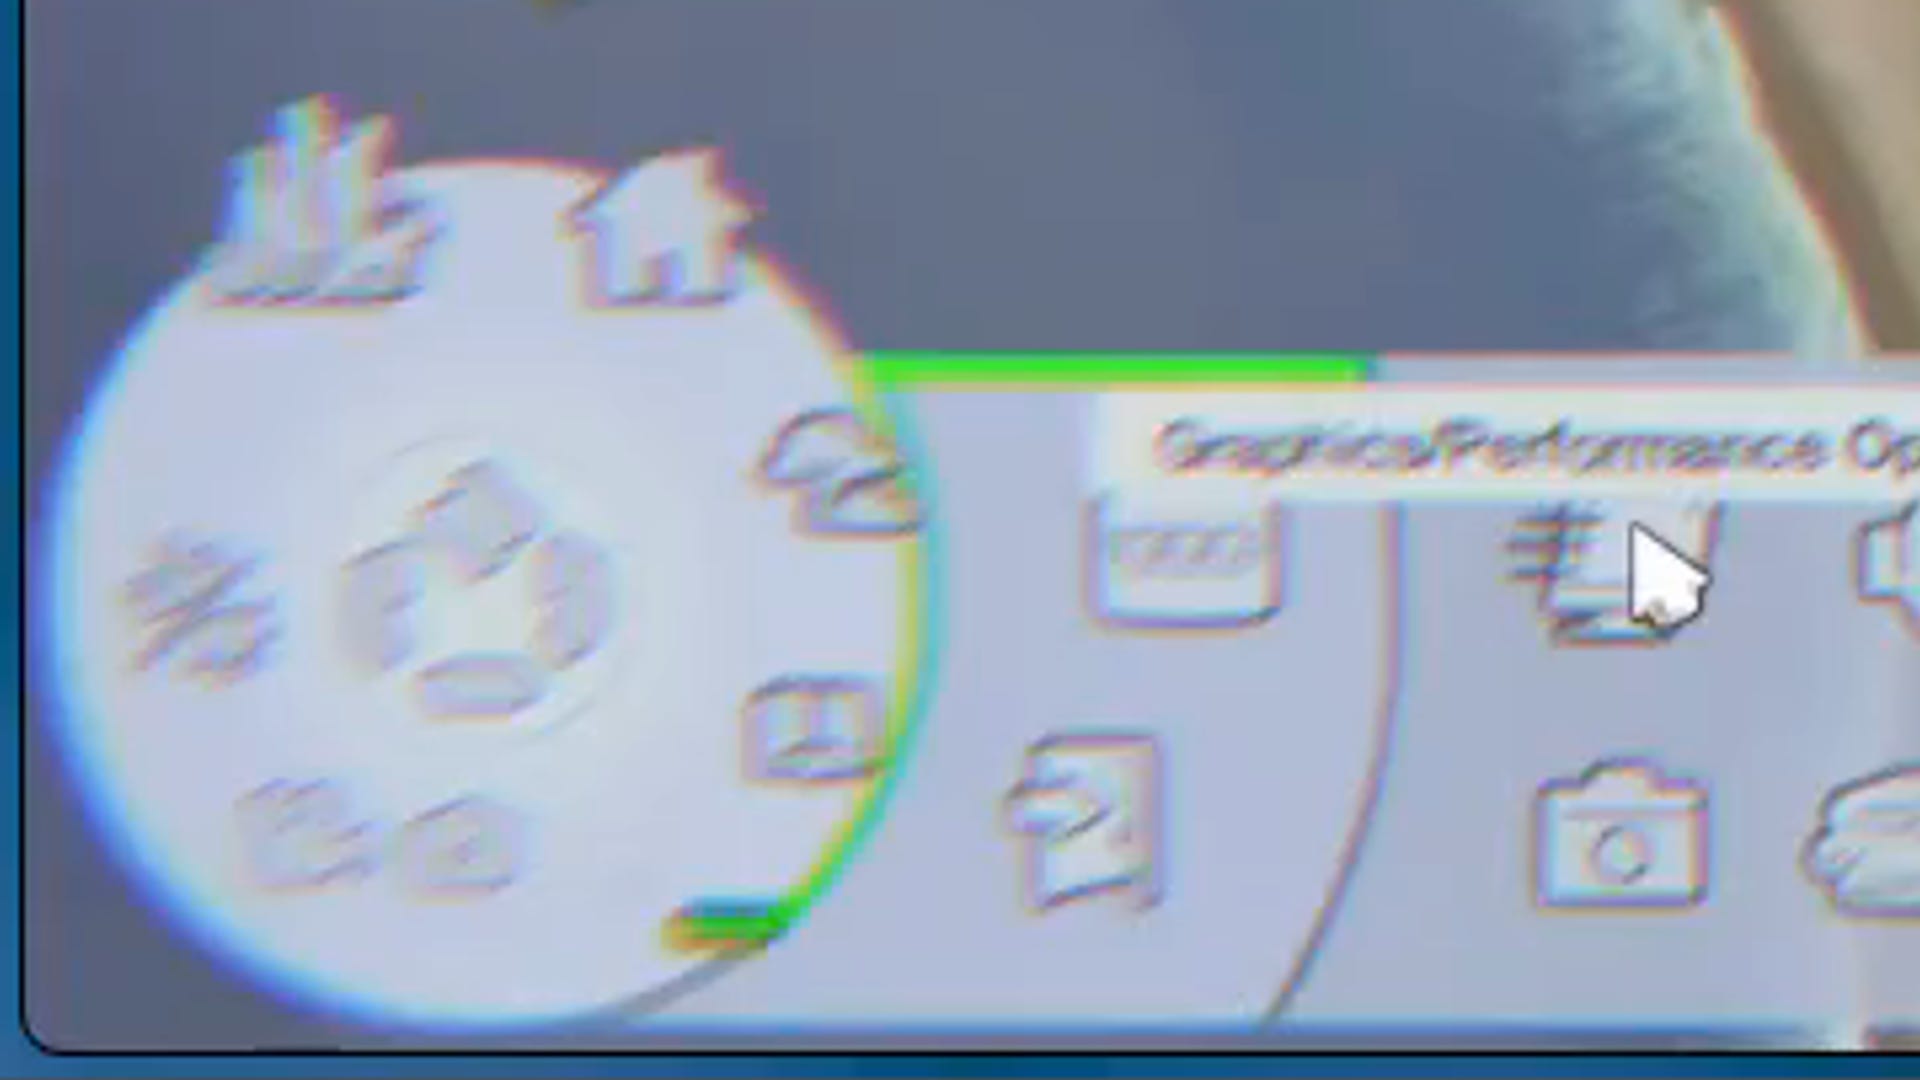
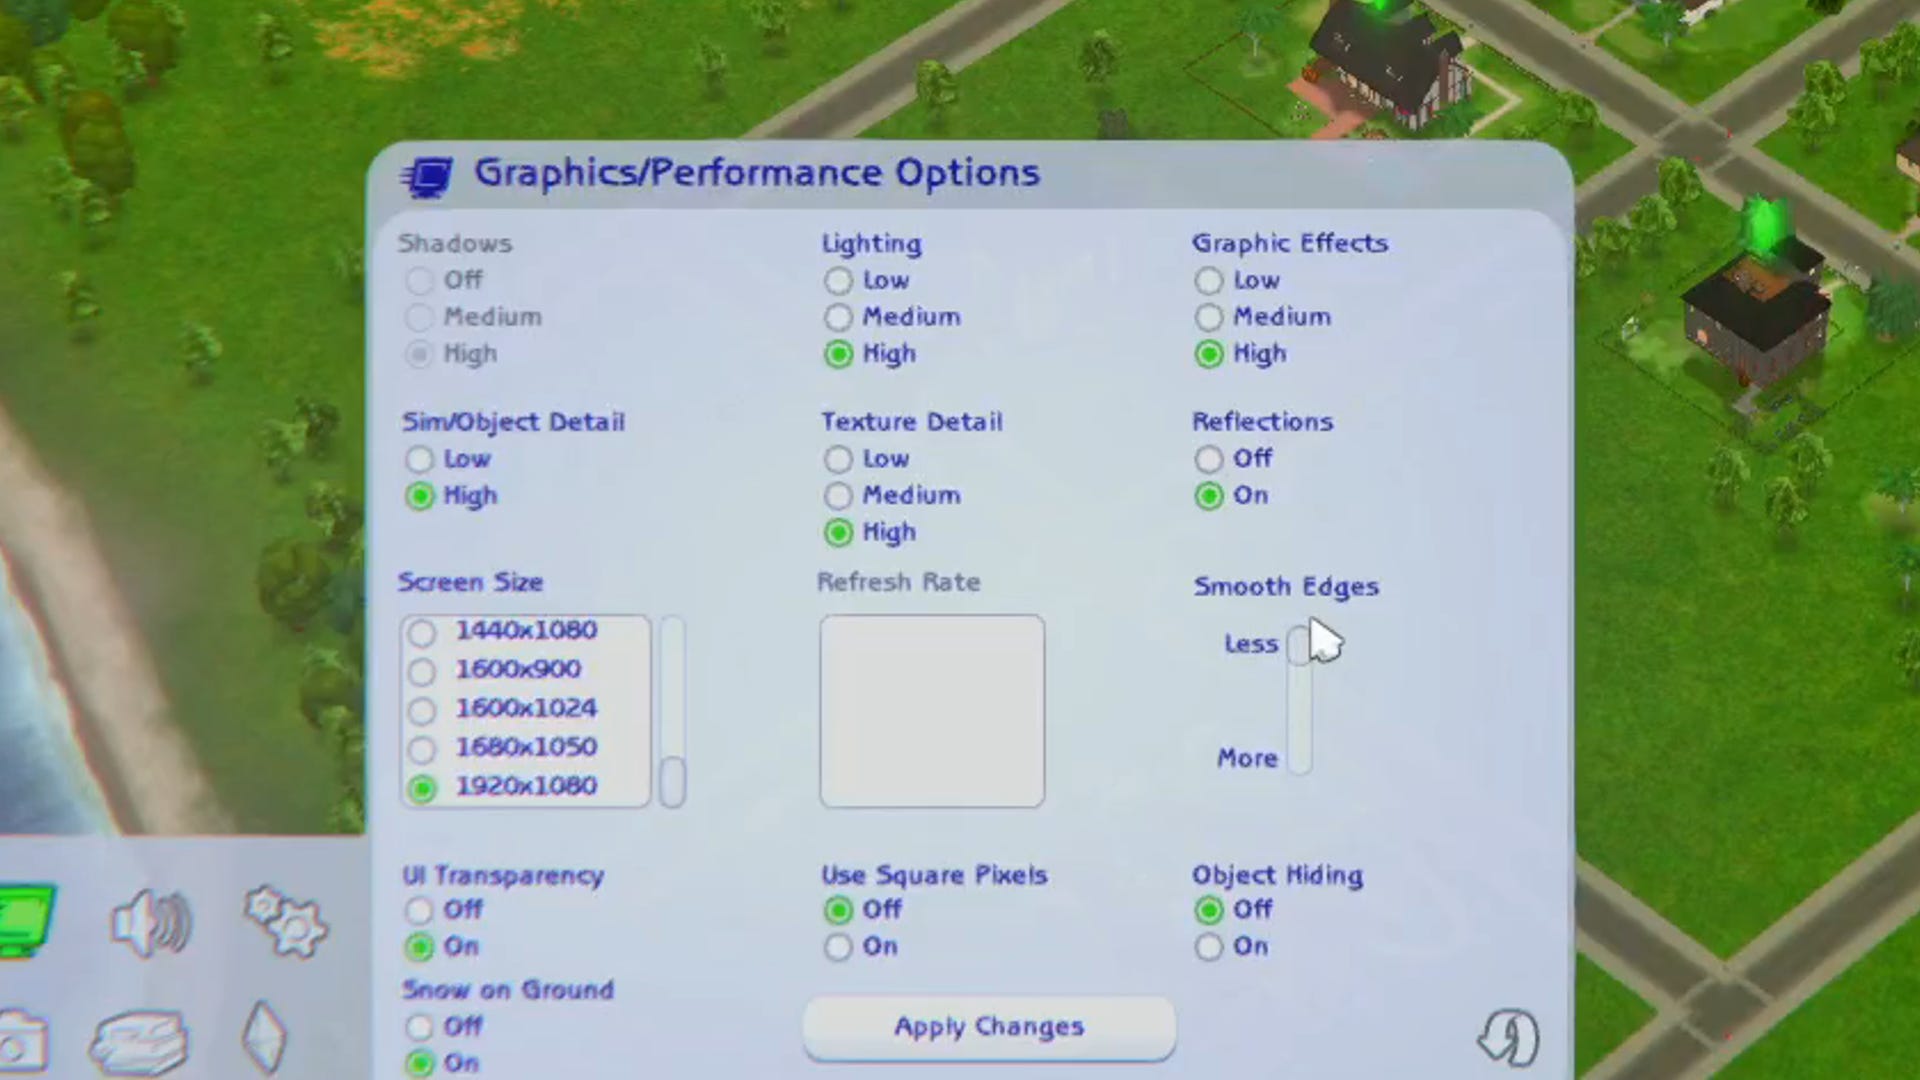
Once you are in the neighborhood click the “three dots” on the bottom left and click “Graphic/Performance Options”
Go to “Smooth Edges” and set it to “Less” otherwise it could crash if set to “More”
Go back into GShade and just adjust effects relating to your present to get to how you like it.
Your completedly finished! Yay you did it!
For more resources please check out these creators and websites: